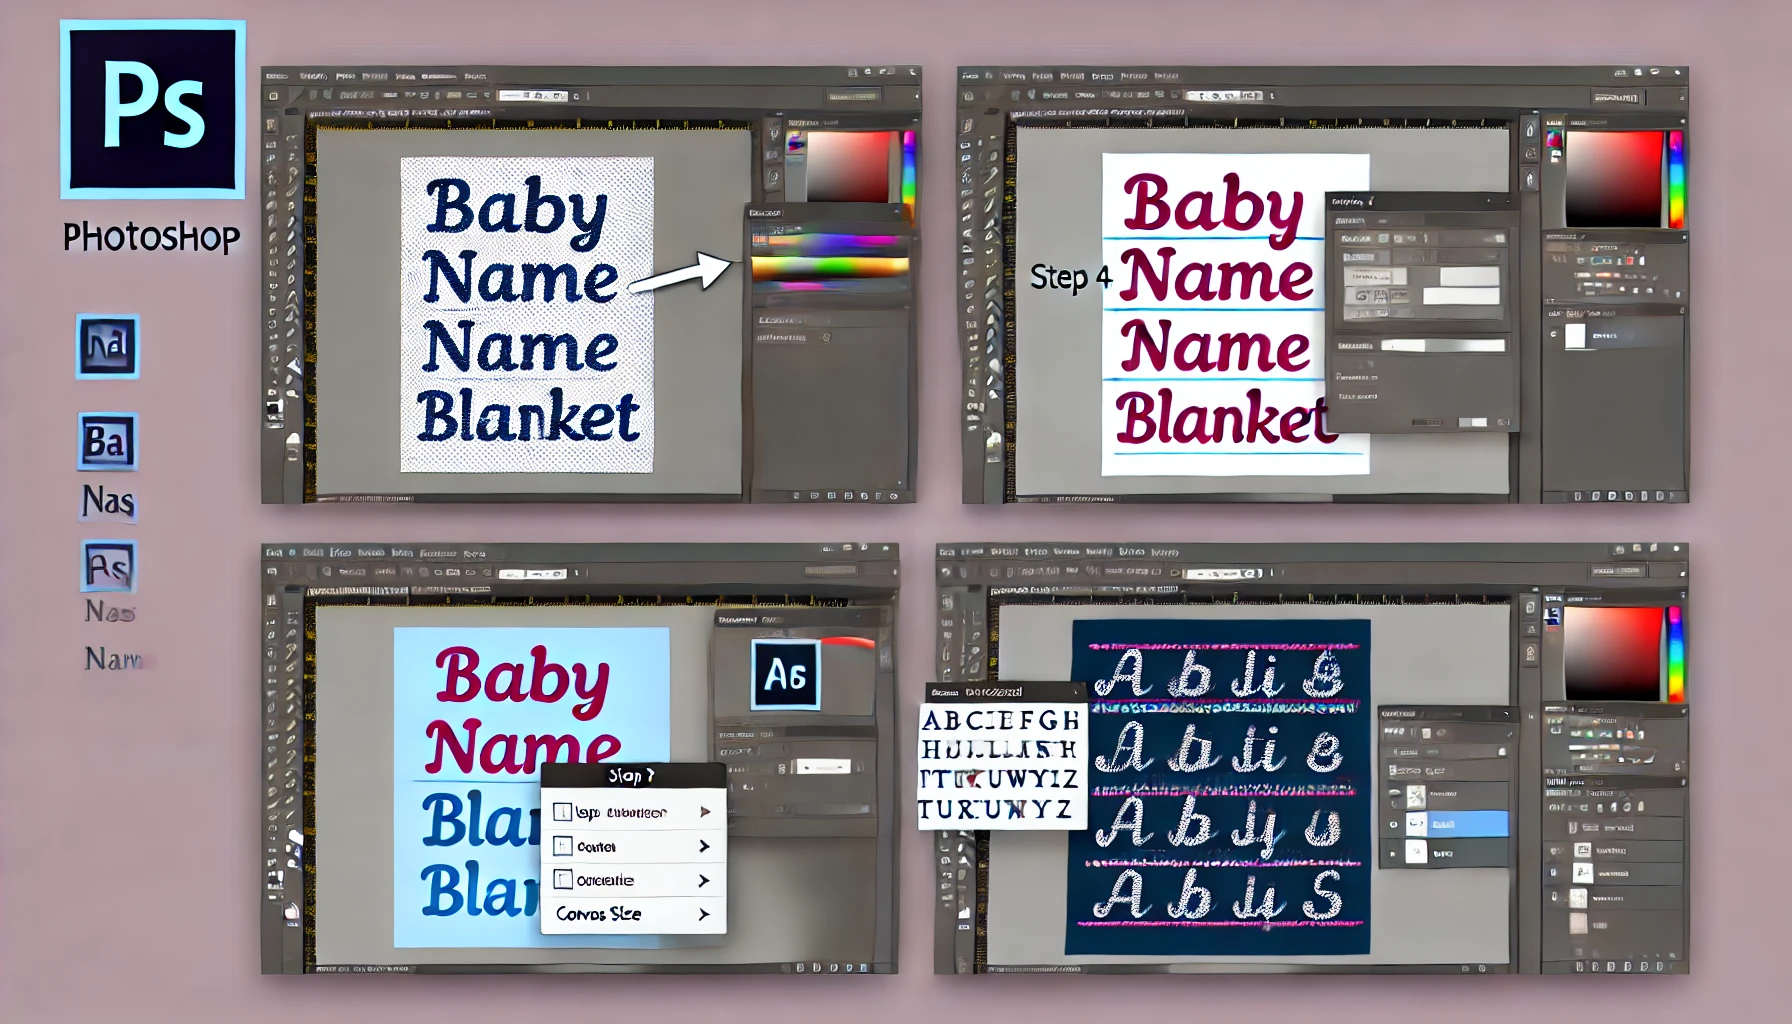
Designing a custom baby name blanket in Photoshop is a fun project. It’s perfect for gifts or nursery decor. Here’s how you can create your own repeating name design that will make your blanket truly special.
Getting Started with Photoshop for a Name Baby Blanket
To create a Name Baby Blanket in Photoshop, you’ll need a few essentials:
- Adobe Photoshop®.
- A customizable font (playful cursive or bold block).
- Soft, cozy fabric like Minky or fleece for printing.
Step 1 – Set Up Your Design Canvas
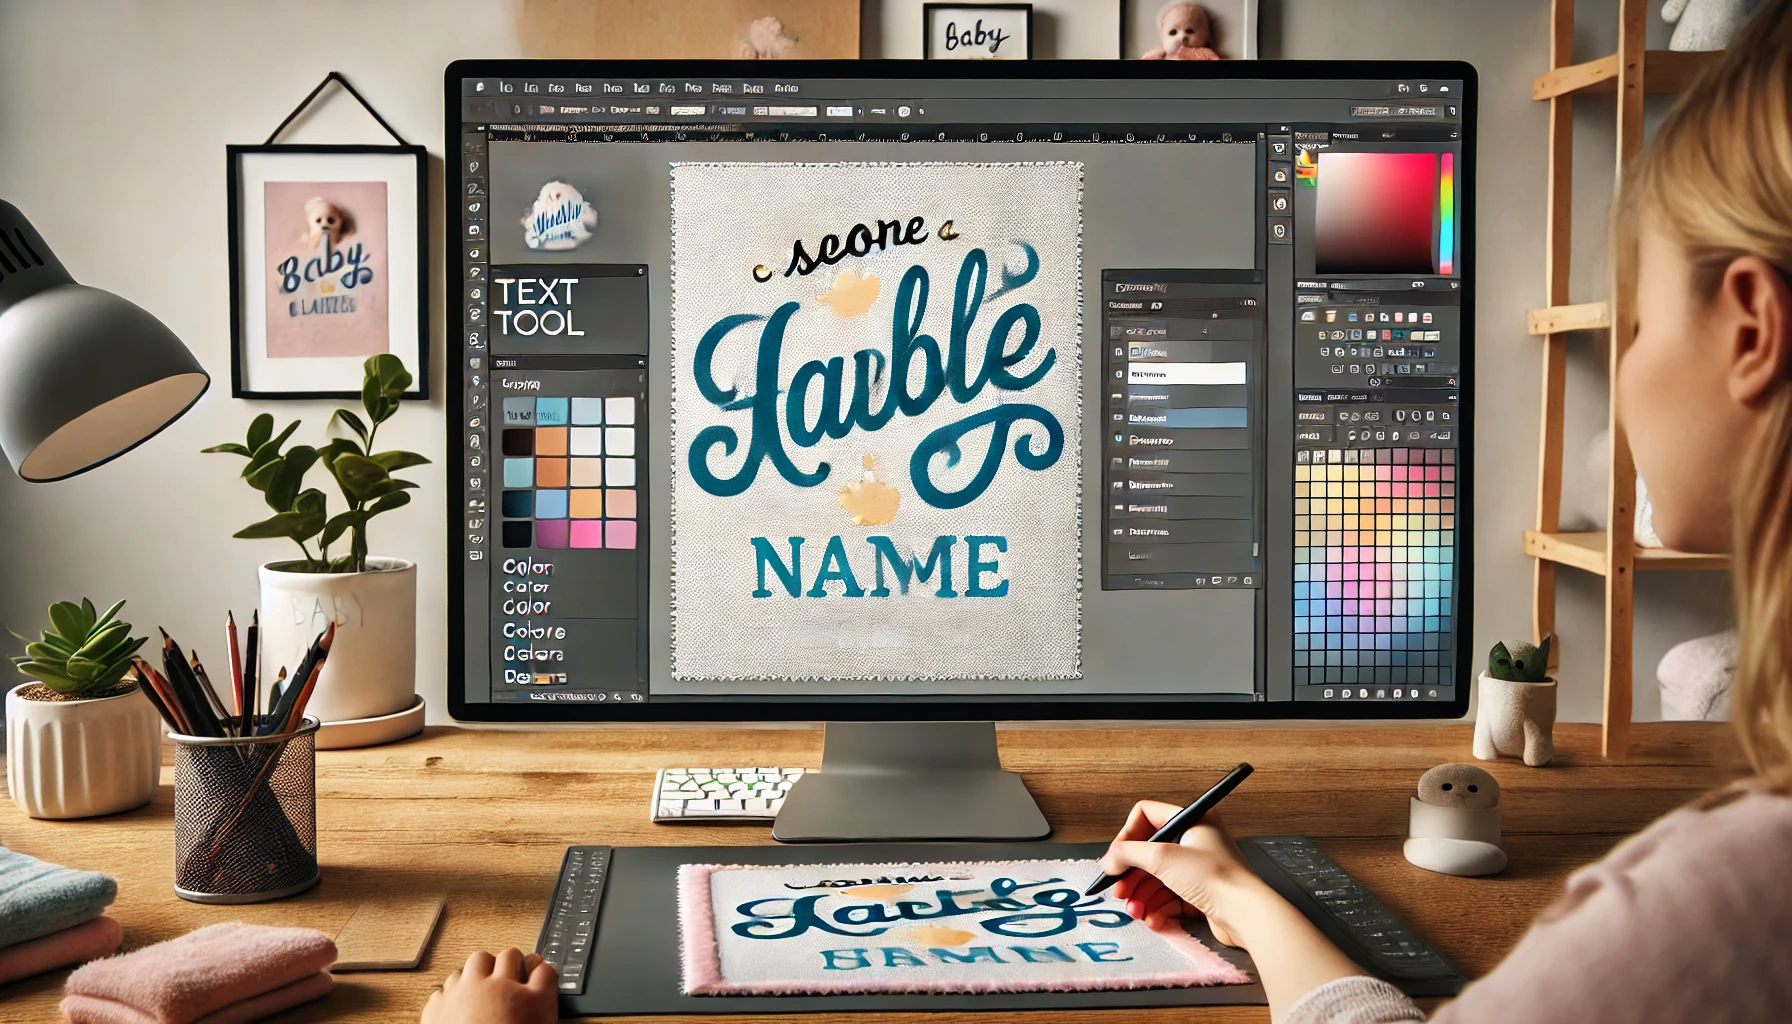
Open Photoshop and create a new document. For a quality print, set your canvas to 16” x 16” at 150 DPI. This size allows for design adjustments for larger blankets without losing quality.
- Choose a Background: Select a background color or pattern to set the theme for your blanket.
- Canvas Size Tip: Larger canvas sizes work best for platforms like Spoonflower®, where you can repeat the pattern seamlessly on fabric.
Step 2 – Choosing and Customizing Fonts
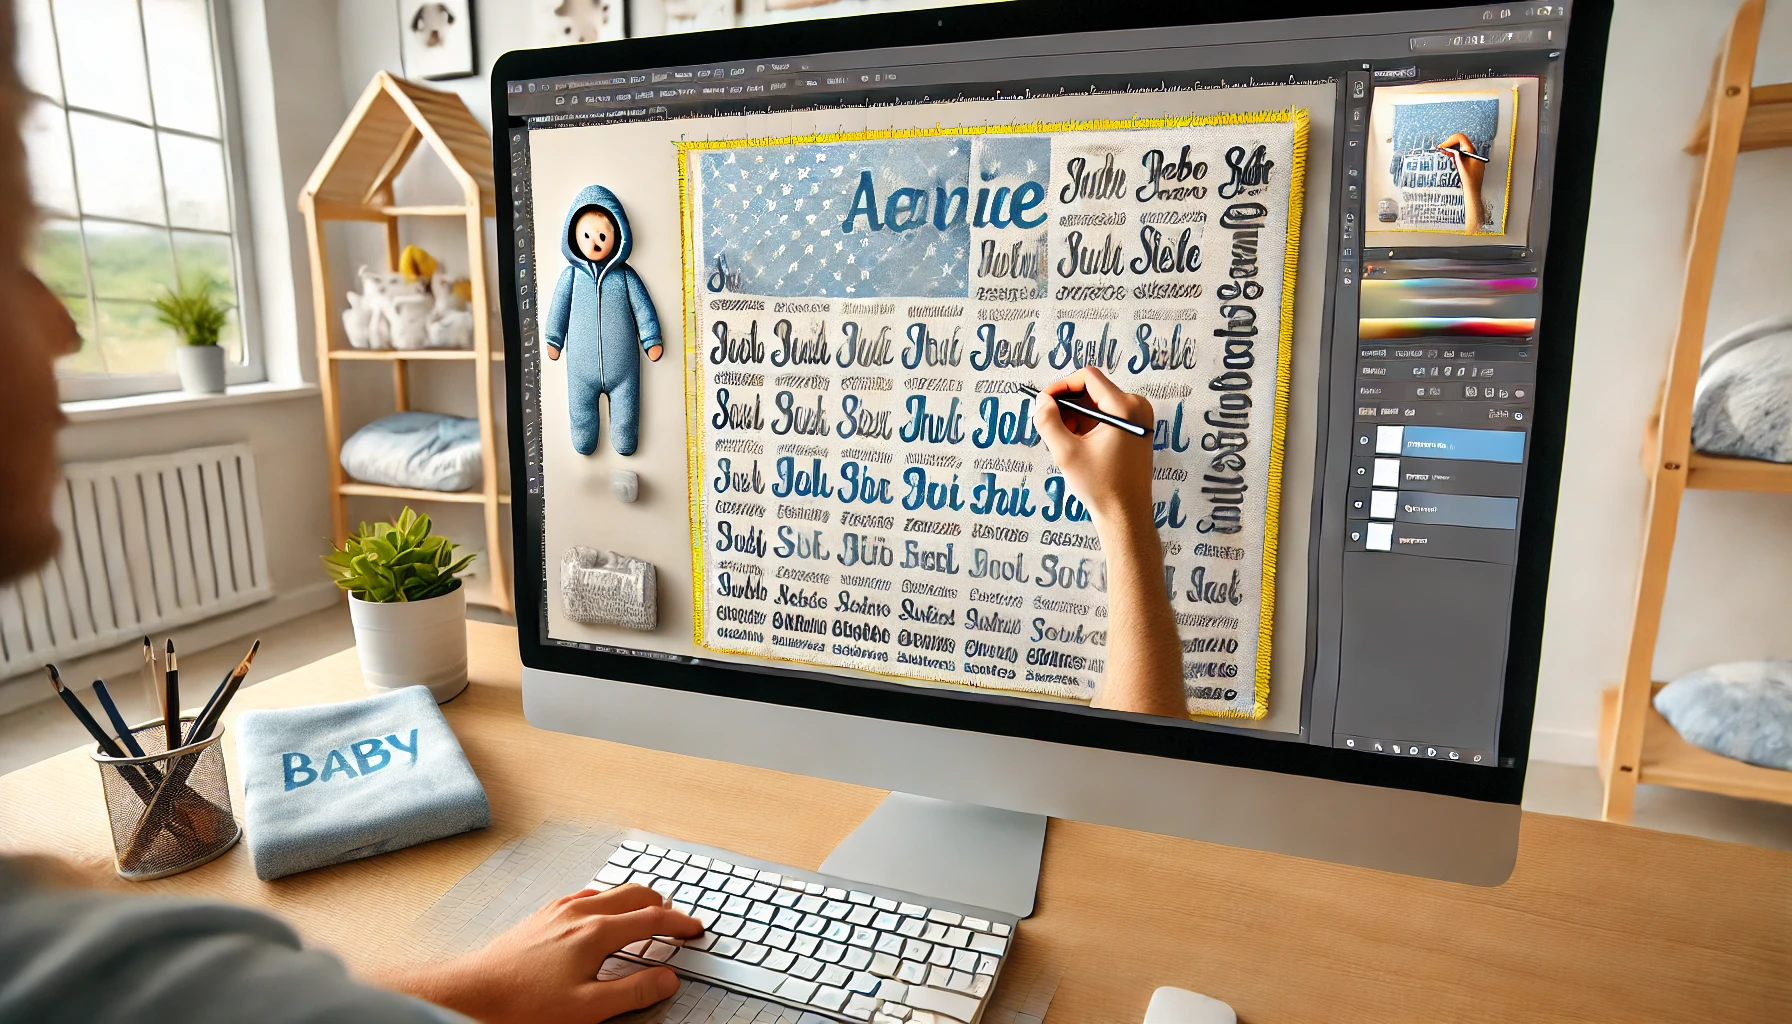
Your font choice will define the look of your repeating name pattern. Download a suitable font. Use cursive for a classic look. Use sans-serif for a modern, simple style.
- Type the Baby’s Name: Use the Text Tool to type the baby’s name and adjust the font size to fit the canvas.
- Font Colors: Match the font color to your desired theme or nursery decor.
Step 3 – Add Name Repeats
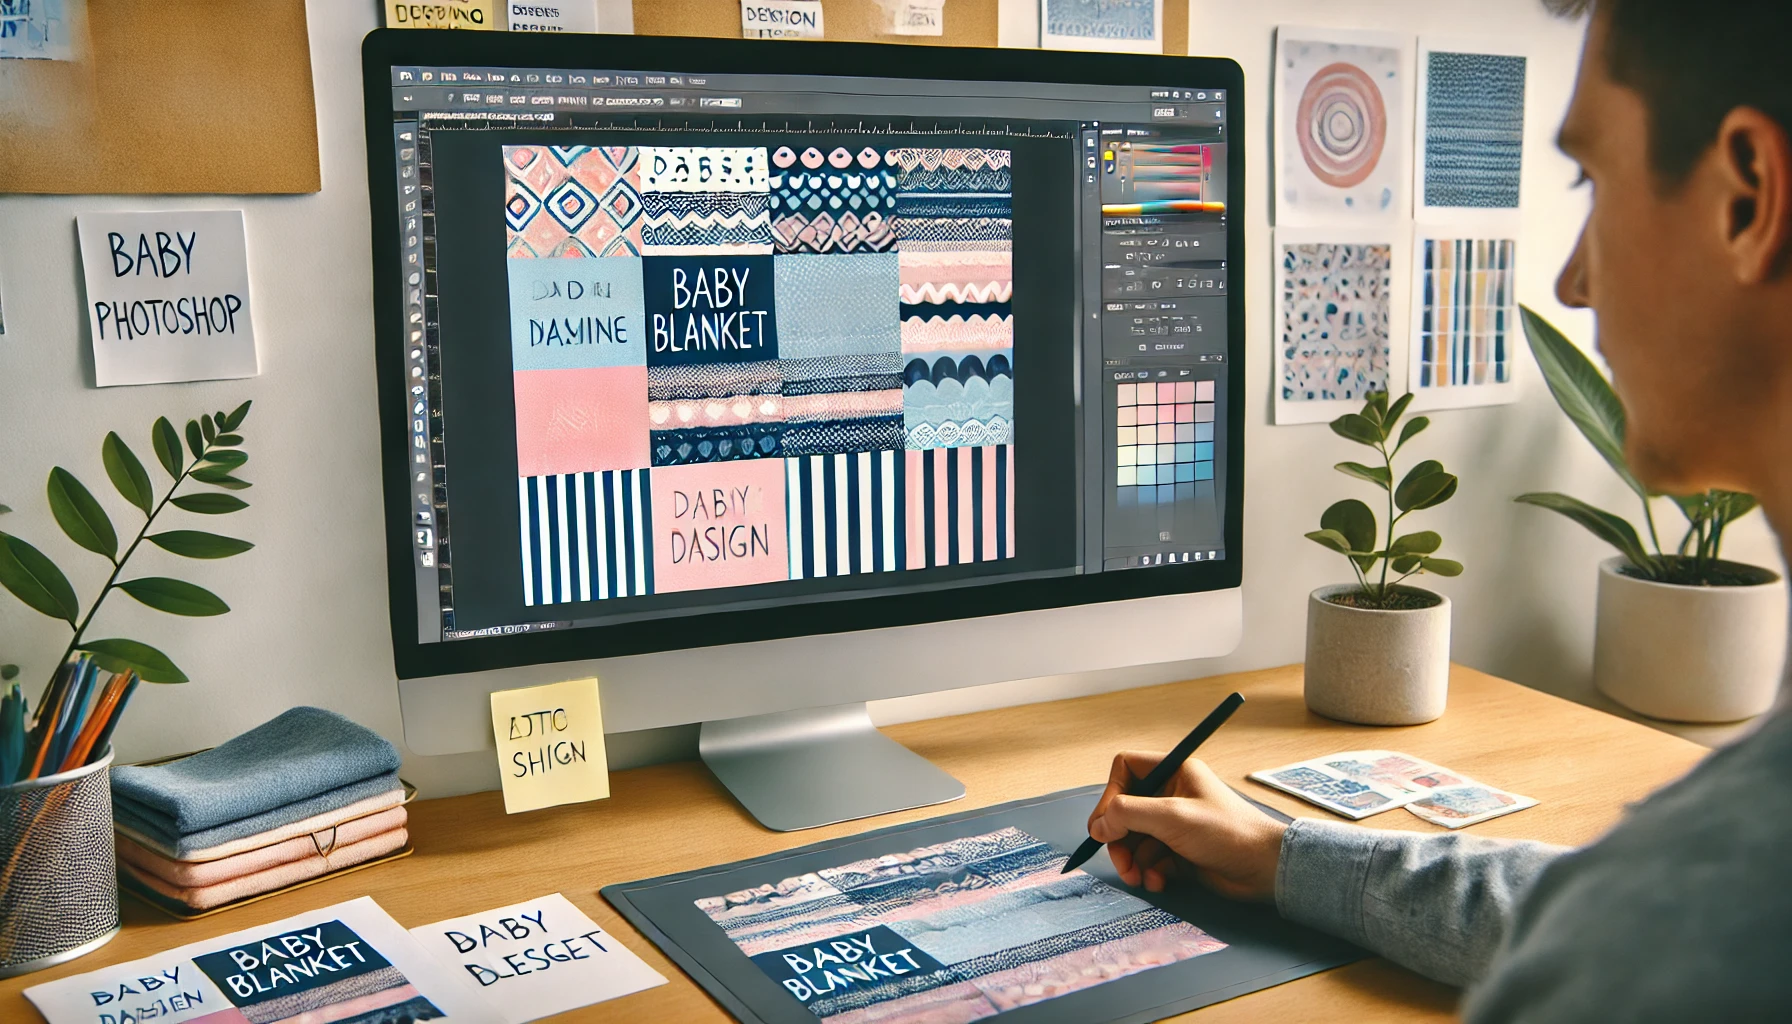
Now it’s time to make the name repeat across the canvas.
- Create a Text Box: Position the baby’s name in the center of the canvas.
- Duplicate the text layer. Move each name down or across to create a seamless pattern.
- Align Names: Use the alignment tools in Photoshop to ensure even spacing for a polished look.
Photoshop Hack: Group the repeated names. This will quickly duplicate and align them, while keeping the spacing.
Step 4 – Finalize the Design with Color and Patterns
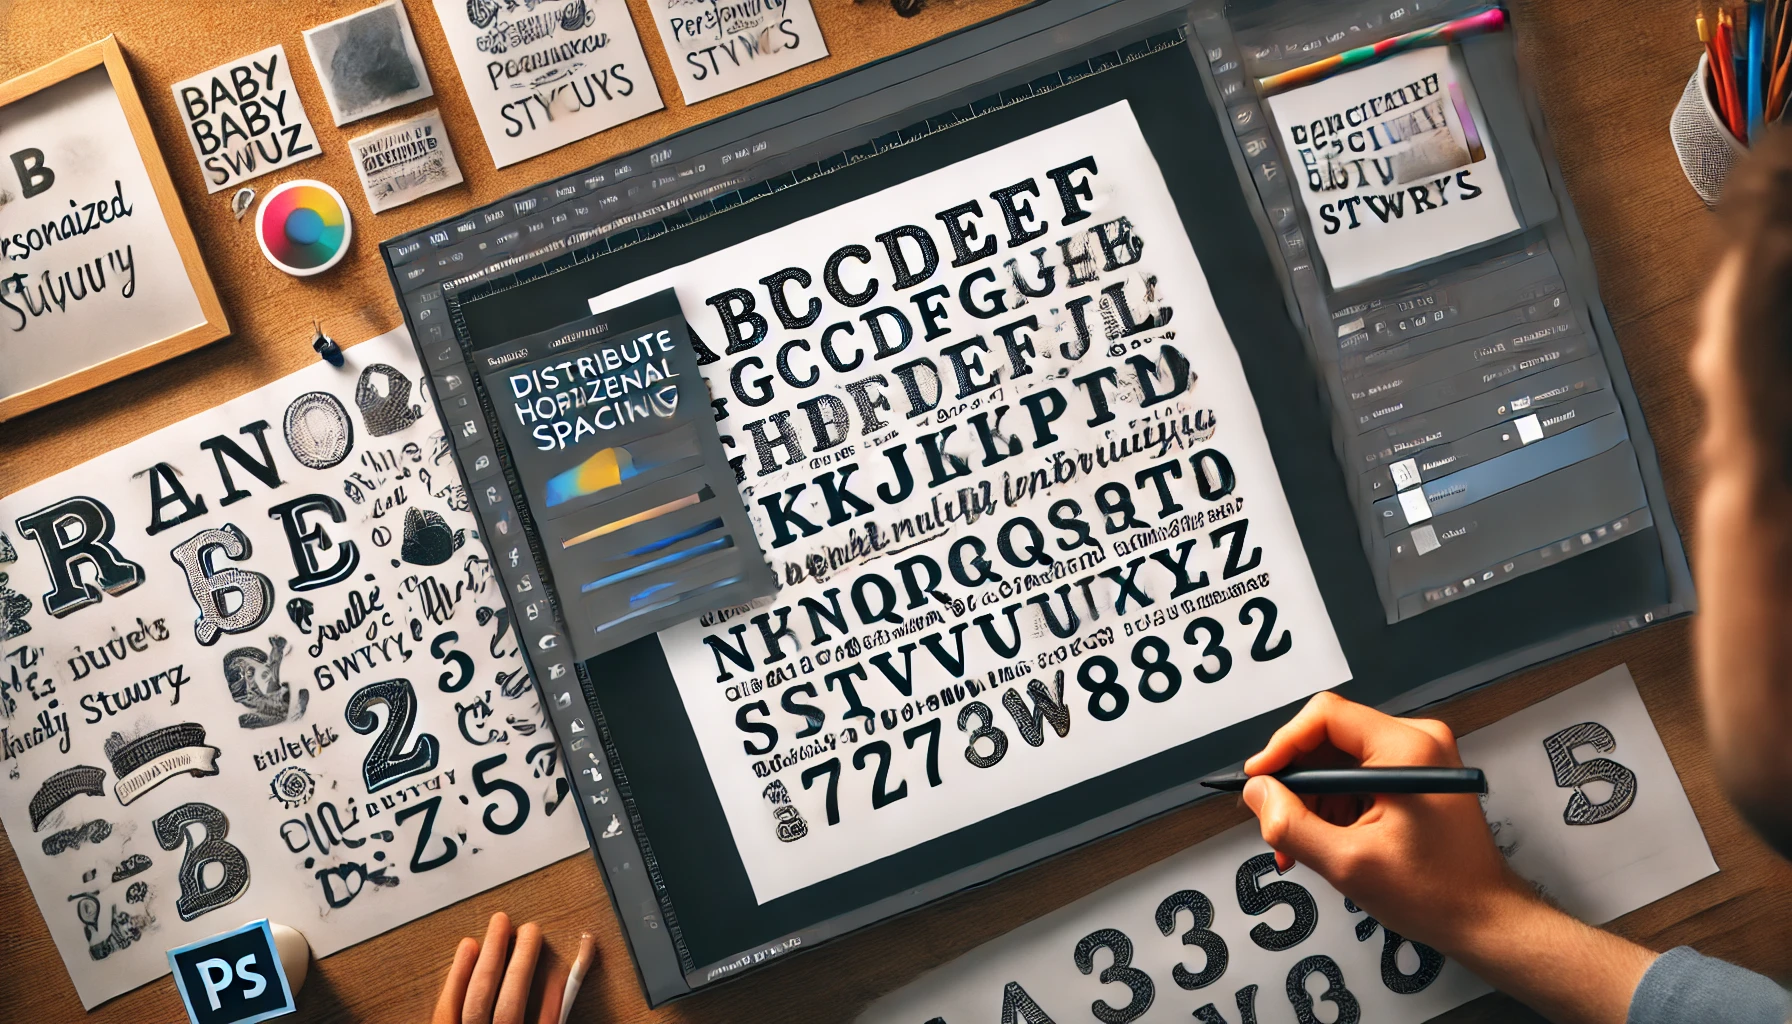
Add finishing touches to bring your design to life:
- Dividers or Shapes: Use simple lines or shapes as dividers between each row for structure.
- Color Variations: Try a monochrome scheme for a minimalist look. Use pastels or vibrant colors for a playful design.
Step 5 – Save and Export
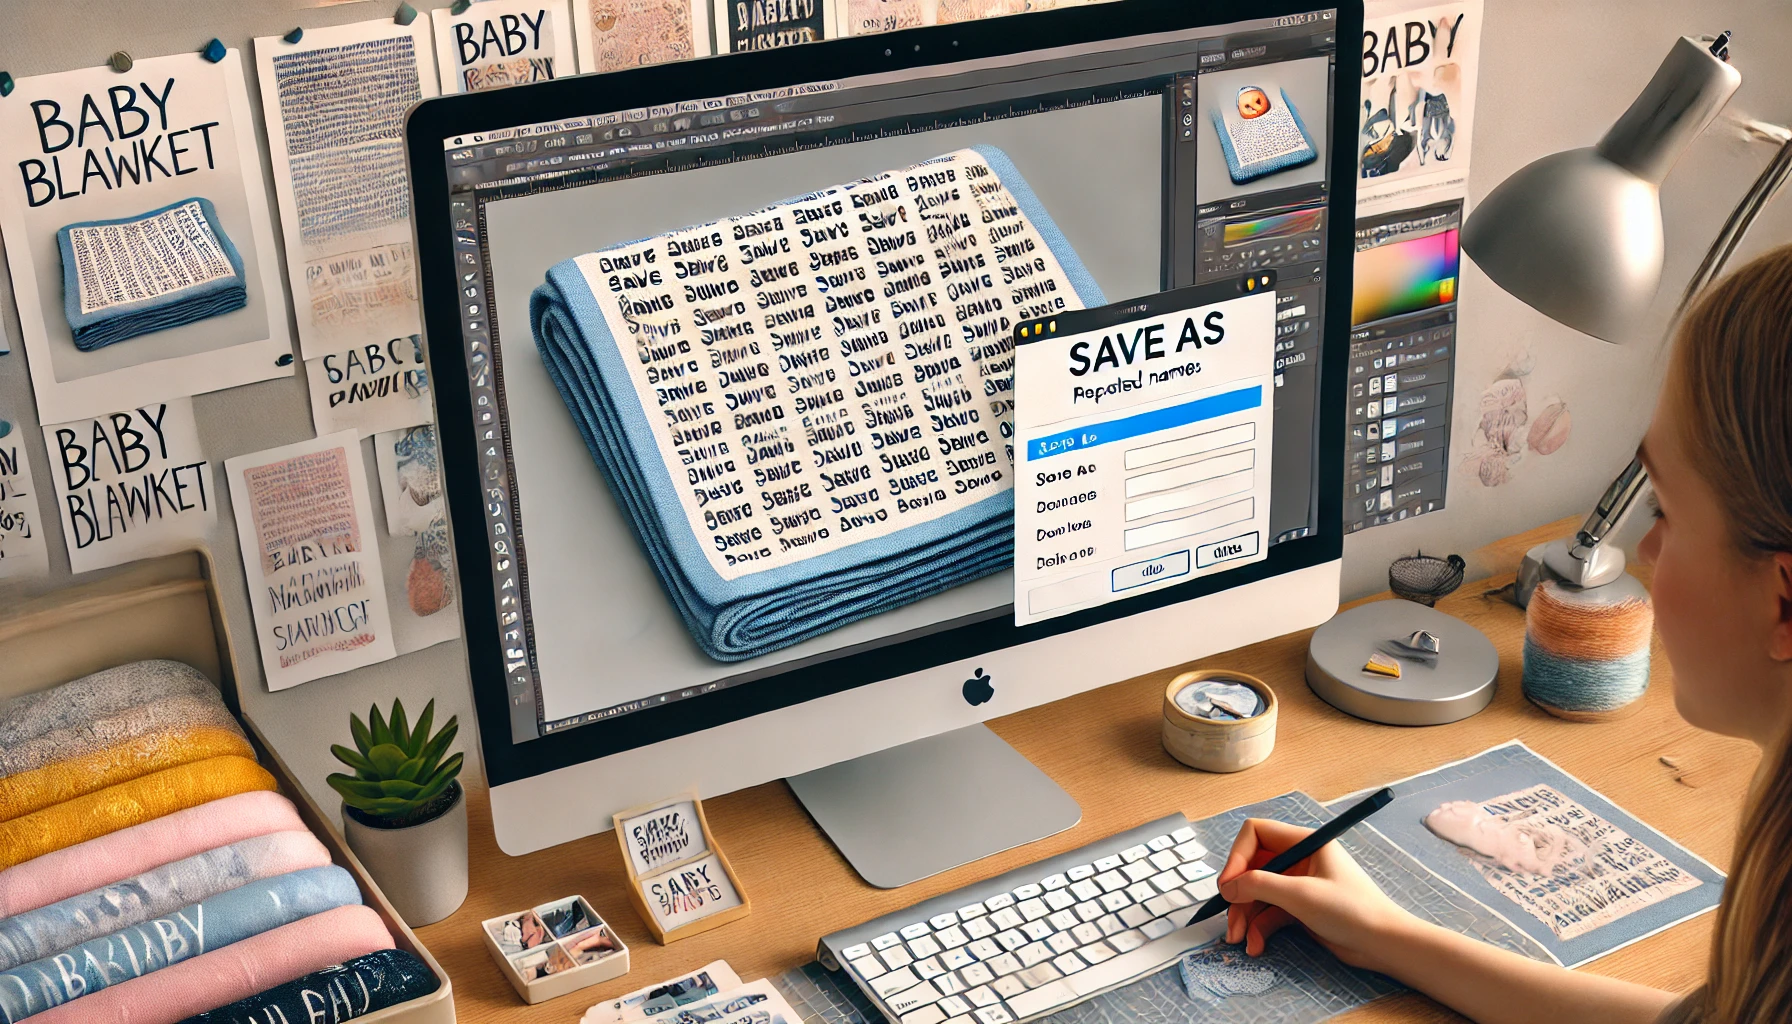
When your design is complete, save it as a high-resolution JPEG or PNG to ensure it prints clearly.
- File Format: JPEG or PNG is best for fabric printing.
- Printing Tip: Use a reputable service like Spoonflower®. It offers soft, durable fabrics that are ideal for baby blankets.
Printing and Assembling the Blanket
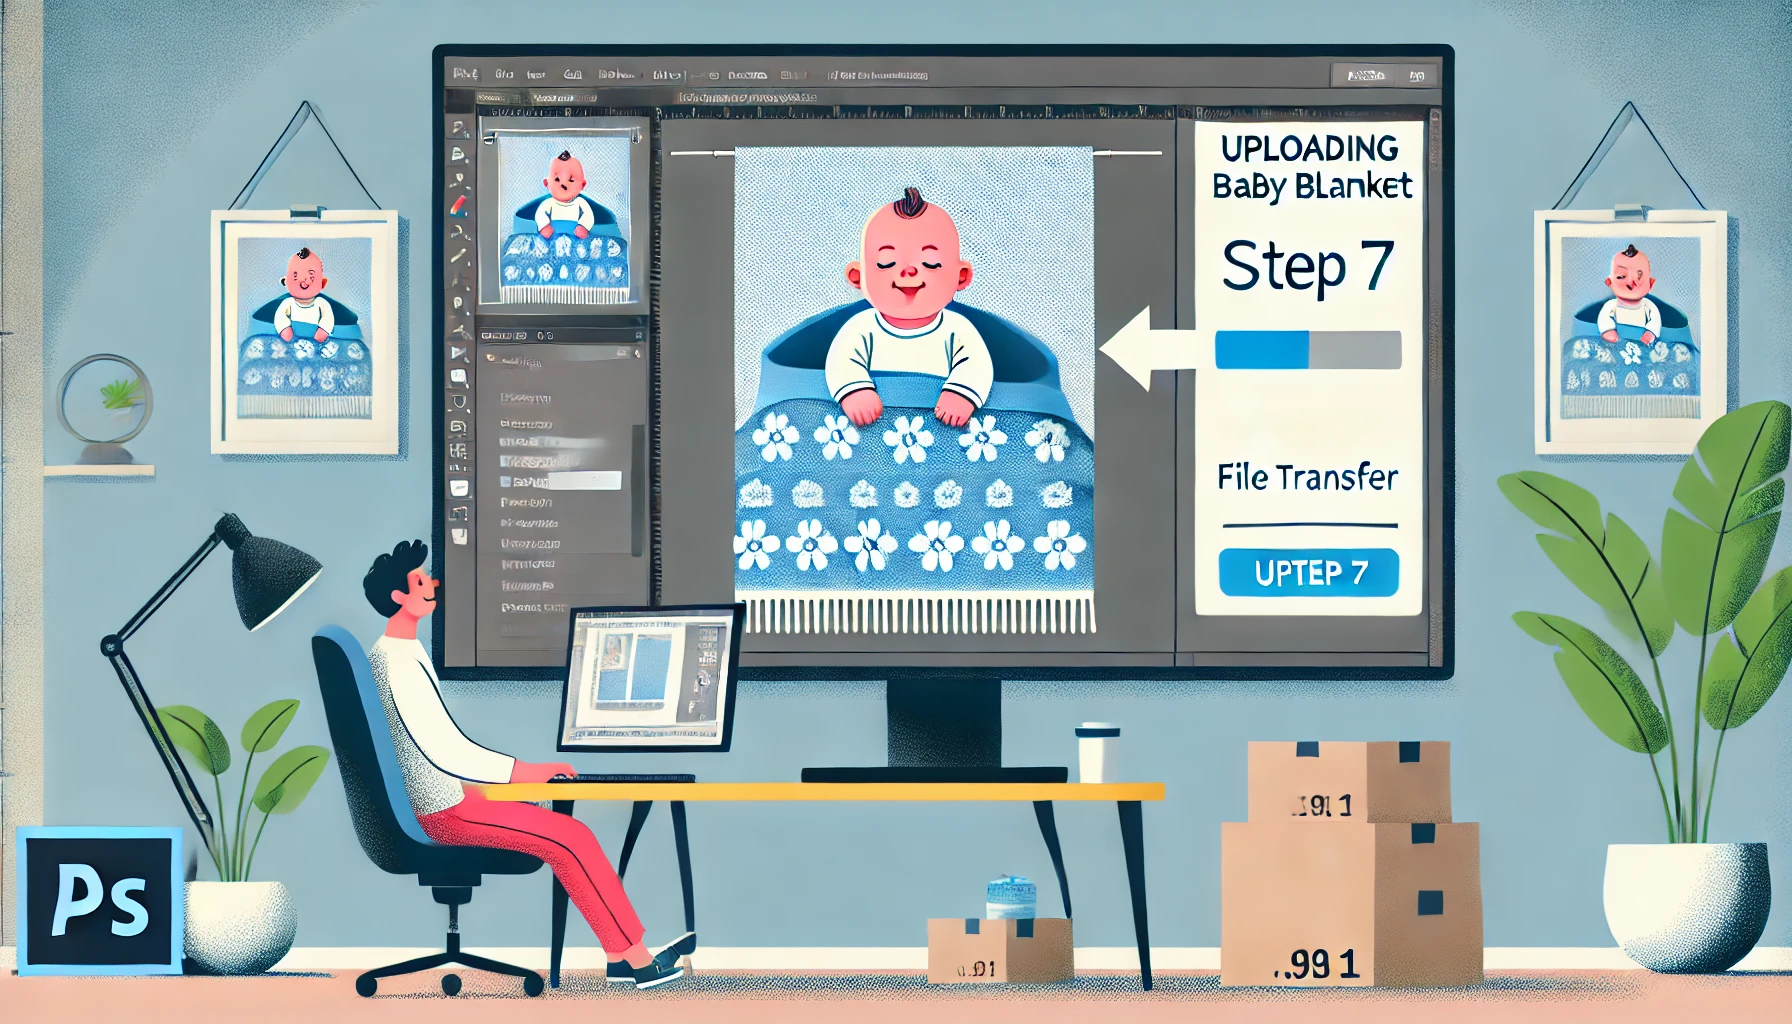
After printing your design, consider a satin or fleece backing. It will make the blanket more comfortable and warm. You can either sew it yourself or have it professionally tailored for a flawless finish.
Final Thoughts
A repeating name baby blanket in Photoshop is a special gift. It will be cherished for years. These steps will help you design a cozy, unique blanket. It will be a beautiful addition to any nursery. Enjoy creating a lasting memory!

